While delving into mechanics might seem scary to some, others see it as a challenge they are more than willing to accept. Learning how to rebuild a diesel injection pump can be a valuable skill. But rebuilding a diesel injection pump can be as hard as it sounds. That’s why it’s usually reserved for professionals.
However, knowing how to rebuild a diesel injector pump could be greatly beneficial if you are on the road or in a situation where you need to handle car problems on your own.
This guide will demystify this process, offer car enthusiasts a comprehensive understanding of the complexity of all the steps involved, and discuss whether taking up this task on your own is a good idea.
Can you Rebuild a Diesel injection Pump?
Rebuilding a diesel injection pump is not something we'd recommend to someone without a professional background. Unlike in the case of engine rebuild kits, there are no rebuild kits for fuel injection pumps.
The reason for this is simple: rebuilding an injection pump takes time and involves much more than simply replacing seals. This is a lengthy procedure that includes multiple steps. Each stage within the injection pump rebuild requires caution and undivided attention.
Due to such reasons, we believe that contacting diesel injection pump rebuilders is the best way to go in most cases. For instance, we have more than 500 manufacturers of injection pumps.
This means potential customers will find rebuilt diesel injection pumps from brands such as Volvo, Ford, Mercedes, Volkswagen, Audi, Powerstroke, and so on. Each rebuilt pump we offer meets OEM (original equipment manufacturer) standards, promising our clients both quality and safety.
However, if you are still interested in learning how to rebuild a diesel injection pump, you can look through the sections below.
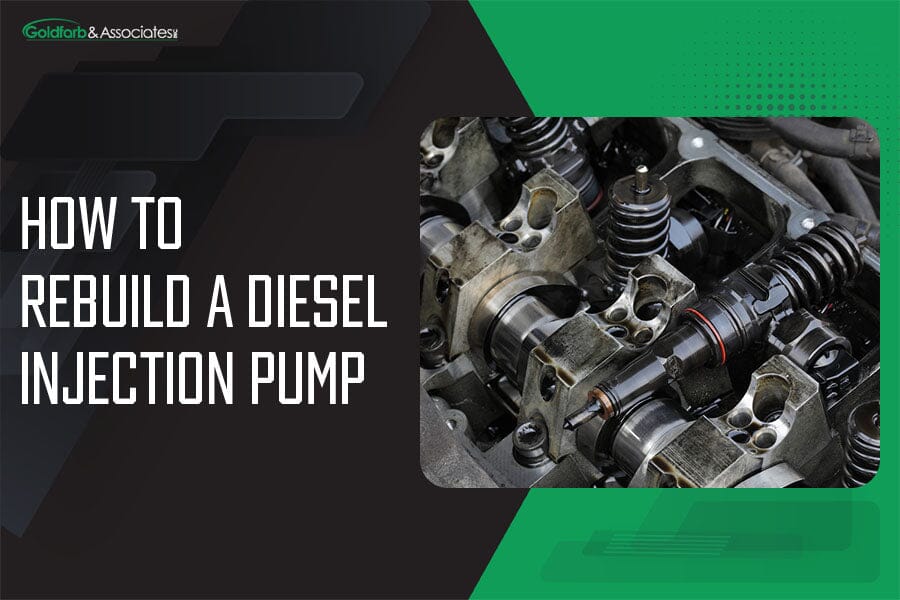
How to Rebuild a Diesel Injection Pump
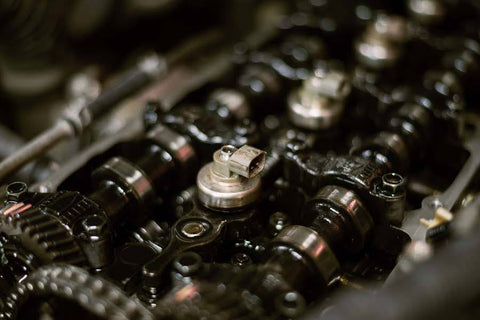
Assuming you have successfully gone through the diesel injection pump disassembly process and found the cause of the problem, now you can move on to the next step.
Dirt and debris are among the most common causes of fuel injection pump failure. This is why, when rebuilding an injection pump, we recommend keeping your area as dirt-free as possible.
For a successful diesel injection pump reassembly, follow the guidelines below:
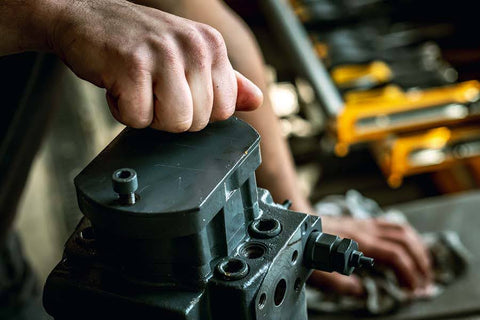
Initial rotor setup
The first step in the reassembly process is rinsing the pump's rotor with clean fuel or calibrating oil. Once done, place the rotor onto a holding fixture and secure it in place.
For the next step, you will need an extractor tool. Use the extractor to install a delivery valve to the rotor bore. Then, add a valve spring and a stop to the rotor bore. Then, use the extractor tool to start the delivery valve. Use this tool to tighten the screw within the delivery valve until you reach the proper torque. Once done, remove the rotor from the fixture and submerge it in clean calibrating oil.
Next, install the pumping plungers onto the rotor and test them for freedom of movement. Then reassemble the leaf spring and leaf spring screw and add them to the rotor.
Source: shutterstock.com / Photo Contributor: slaved
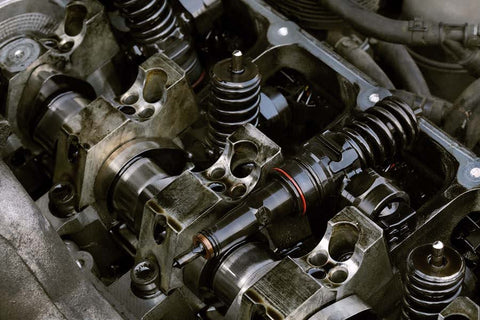
Setting roller-to-roller dimension
Your next goal will be to set the roller-to-roller dimension within the rotor. To do so, you will need to consult a manual for the injector pump in question. Find the specifications and use a micrometer to measure and adjust the roller-to-roller dimension. Once finished, move on to cleaning the hydraulic head of the rotor in calibration oil.
Then, place a cam ring onto the head of the rotor assembly and ensure its direction is in sync with the rotation of the pump.
Moving on to the weight retainer. Place this part on top of the rotor, ensuring the assembly marks on the rotor first.
Next, use the rotor retainer on the head and ensure they meet over the hole of the hydraulic pump. Once done, install an end cap seal over the hydraulic head.
Finalize this by putting the transfer pump liner on top. Find your blade halves and place them in their slots.
Installing the pump regulator
Next, gather the needed components and assemble the transfer pump regulator. Then, install the pump regulator to the liner and install the pressure plate and filter screen onto it. Recheck its position and ensure everything is properly set in place, as the pump regulator is directly linked to the proper pump rotation.
Governor setup
Before you move on to the following steps, you'll first need to place the governor arm in position. Then, insert shaft seals and nuts onto the shaft and use a wrench to tighten them. Place the governor weight onto the governor weight retainer and insert thrust washers and thrust sleeves onto the lower slots of the governor.
Housing
Now that you have successfully assembled the rotor, hydraulic head, transfer pump, and governor, you will need to put it all into housing. To do this, first grease the housing seal accordingly and slightly rotate the cam ring to make this process easier.
Get a good grip on the hydraulic head and fit it into the housing using a rotatory motion. Don't apply force during this process to avoid breaking the housing seal. Rotate the hydraulic head until it lines up with the screw holes of the housing, and insert two locking screws.
Next, you will need to install the vent wire screw assembly, after which you will need to assemble the metering valve and place it into the bore. Once done, depress the metering valve assembly in order to install the guide stud and guide stud washer.
After ensuring the parts have been properly positioned and secured, apply a small amount of grease over them before installing spring components onto the stud.
Then, install mylar washers onto the shutoff shafts, throttle them, and grease them. Move on to applying the head locating screw onto the pump, then install the cam advance screw.
Installing advance components
Assemble the automatic advance components and install the advanced pistol assemblies into the pump housing. Make sure to install the screw plug and seal and tighten it properly.
Once done, take the time to tighten the pistole hole plugs. Next, invert the pump, locate the driver shaft, and rotate it until you hear a clicking sound. Then, take the time to measure and adjust the linkage gap if needed.
Install a shut-off cam and a shaft retainer clip. When properly installed, both easily snap into position.
Next, install a gasket and a cover on the injection pump. Tighten the end cap and the two head-locking screws. Finally, you can remove the injector pump from the holding fixture and place it into its final seal.
We must note that the steps outlined above can only offer general guidance on how to rebuild a diesel pump. Manufacturers might have specific considerations based on the model, which is why we advise consulting a manual before approaching this complex procedure.
It's also important to mention that each diesel injector pump may come with unique torque specifications, which you should pay close attention to when rebuilding your pump.
How Much Does it Cost to Rebuild a Diesel Injector Pump?
There is no universal price for rebuilding a diesel injector pump. Since people usually seek to rebuild a pump to fix a specific issue, the price will likely be determined by the part that needs to be changed. Estimating the exact price becomes difficult. One of the best ways to work around such issues is to purchase an already-rebuilt pump that fits your vehicle.
Source: shutterstock.com / Photo Contributor: sima
Conclusion
In conclusion to our exploration of how to rebuild a diesel injector pump, we may add that this process requires prior experience and expertise. The absence of the standard injector pump rebuild kit suggests that complex steps are required to execute this process accordingly. Each stage we discussed requires attention to detail and adherence to specific manufacturer guidelines.
This is why we recommend using a manual if you decide to approach this process independently. Remember, seeking professional assistance is the safest and most reliable option, ensuring optimal quality.

