Replacing the fuel filters is necessary to maintain the optimal performance of your car’s engine. However, after successfully replacing them, it’s crucial to perform priming, i.e., removing any remaining air inside the injection system. To get your diesel engine running smoothly again, you must know how to prime a fuel pump fuel injection.
The fuel pump also requires priming after it’s replaced or when the engine runs out of fuel. This ensures that the system is properly filled and there’s no remaining air inside, which would interfere with the fuel delivery and engine operation.
So, we will provide a step-by-step guide for priming a fuel pump fuel injection and offer tips for the procedure.

How to Prime a Fuel Pump Fuel Injection
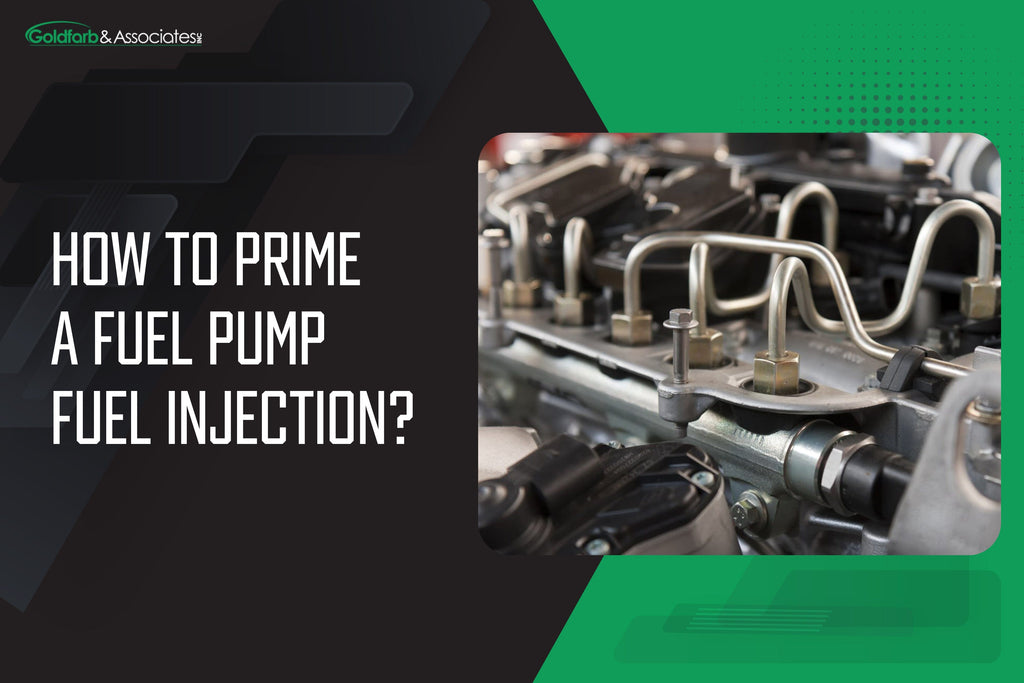
Diesel engines require changing the fuel filters at the frequency of between 10,000 to 30,000 miles. This is because the contaminants build up on the filter and restrict the fuel flow to the engine, causing drops in performance.
After every filter change, there has to be a priming procedure to eliminate air pockets that appear as a result of emptying the fuel. When the fuel pump is empty, air enters the fuel system, which later has to be removed to ensure the proper functioning of the vehicle.
This is also valid for other situations where you have to empty the tank for maintenance or it isn’t refilled on time. Hence, you should avoid emptying your tank, as it would be necessary to perform priming after filling it.
Priming is a common procedure in diesel engine maintenance. Modern diesel engines have systems that make it easy to perform priming. For older cars, the process may require more manual intervention and the use of tools.
So, here are the steps to prime a fuel pump:
1. Disconnect the battery
Working with the battery on represents a safety hazard, and there’s also the possibility that it can cause electrical damage. Modern cars have sensors with higher sensitivity, and electrical surges can trigger the ignition, causing damage or harm.
The battery’s positive terminal gets switched off first, followed by the negative terminal. Loosen the bolt that keeps it in place and move it away from the vehicle without the possibility of contact with metals.
If you need to replace your pump, Goldfarb & Associates has the best diesel fuel injection pump on the market. Contact our service and discover how we can make your engine perform at its absolute best.
2. Find the primer
In most cases, the primer is a pump or a bulb, and you can read your engine’s manual to find its location immediately. If you don’t have a manual, the possible locations of the primer are as follows:
- Near the fuel filter
- On the fuel injector pump
- Along the fuel lines
- On the fuel filter cap
- Near the fuel tank
There’s a high likelihood that the primer contains words or symbols that would indicate its function. Once you locate this component, you can move on to the next step.
3. Check the fuel
It’s difficult to prime the system without having fuel in the tank. Ensure that there’s a reasonable amount of fuel in the system before beginning this process. The system will start drawing fuel; it may draw air again if there isn't enough.

4. Open bleed screw
The bleed screw is a small valve found in various locations in the fuel system of a diesel engine. Its purpose is to allow trapped air to exit the system and ensure that only pure fuel runs through the lines.
The common locations of the bleed screw can be as follows:
- Near the fuel filter
- Close to the injector pump
- At the high points of fuel lines
It looks like a small valve, usually with a hexagonal head, with a small hole on top to allow the insertion of a tool for its opening and closure. Depending on its head design, you will need either a wrench or a screwdriver to open it.
When opening the screw, have a container and rag ready, as the pressure from the air pockets might also release some fuel. Once the flow becomes steady and consistent without any bubbles, you may close it again.
For hand-operated pumps
A hand pump is a lever that you move to manually move the fuel through the system. It’s in the engine compartment near the fuel filter or the injection pump.
The pump will require working against the pressure and pumping the fuel along the system until all the trapped air escapes.
For priming bulbs
The priming bulb is a piece of rubber that you can press to draw fuel through the system. You should perform and control everything with patience, allowing the bulb to expand so that you can press it again.
Like with the other methods, this action is performed while observing the fuel for the presence of bubbles. Once the air escapes the system, there will be a steady flow of fuel.
5. Reconnect the battery and start the engine
To reconnect the battery, the negative terminal gets connected first, followed by the positive one. Turn on the ignition for the fuel to get pressurized. If the engine doesn’t start at first, don’t worry; the fuel may take a few seconds to completely fill the system.
Listen to the engine’s work and stay alert for weird sounds, performance issues, or exhaust smells.

Summary
Every so often, the fuel system has to be drained for maintenance purposes, or it can run empty. This causes air pockets to create and interfere with the engine’s work, decreasing its performance and potentially causing damage.
This is why it’s important to know how to prime a fuel pump fuel injection, as it’s the only way to dispose of the air. Modern vehicles have systems that allow for easy air extraction without using too many tools.
Moreover, the fuel pump needs a sufficient amount of fuel to draw, and it’s important to pour fuel before executing the task. Afterward, priming is performed by opening the bleed screw and allowing the air to escape. The differences in methodology are related to the engine’s design and how the fuel is moved during the process.
Once you’re done, you can test the car and observe its performance for any irregularities.

